|
The Bell House Projects —The Floating Concrete Deck |

|
©2026 CALVINO architecture studio, inc all contents of this publication whether in digital or analog format are the express property of CALVINOarchitecture studio, inc. and shall not be reproduced by any means without written consent from Mike Calvino |
|
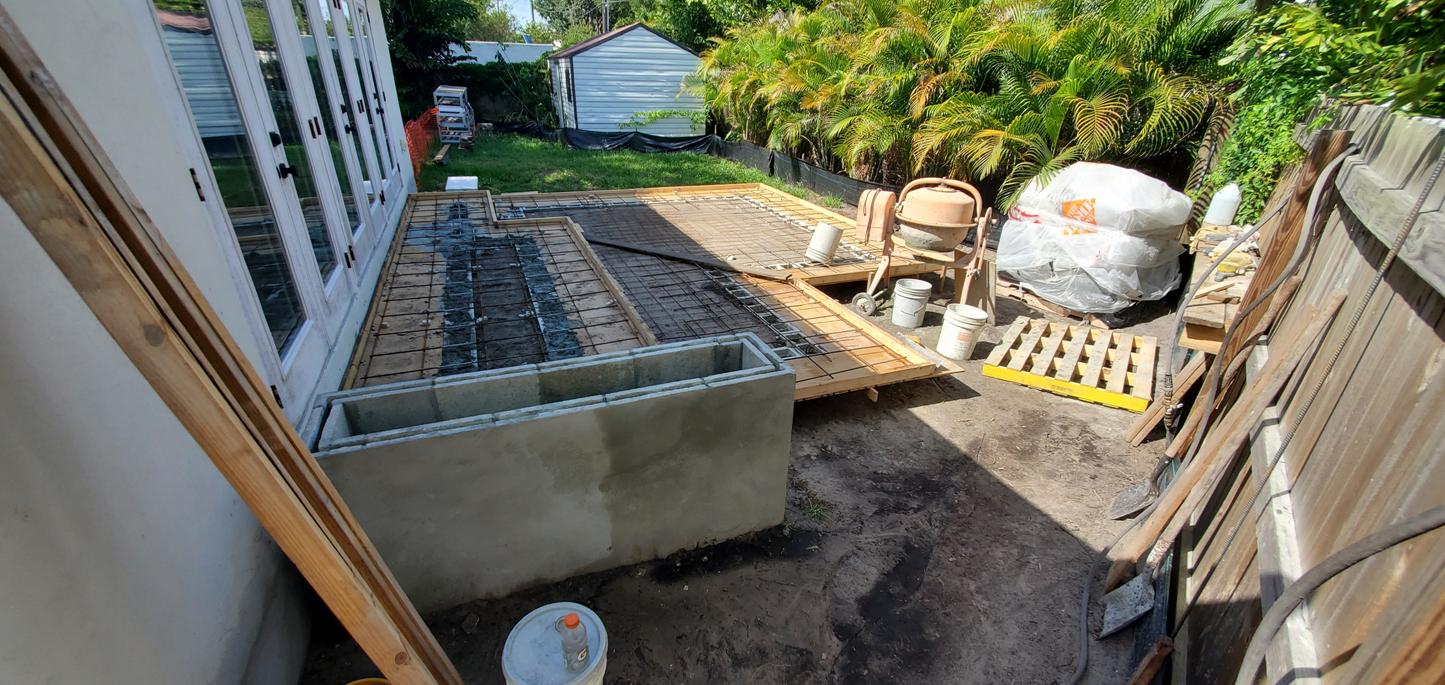
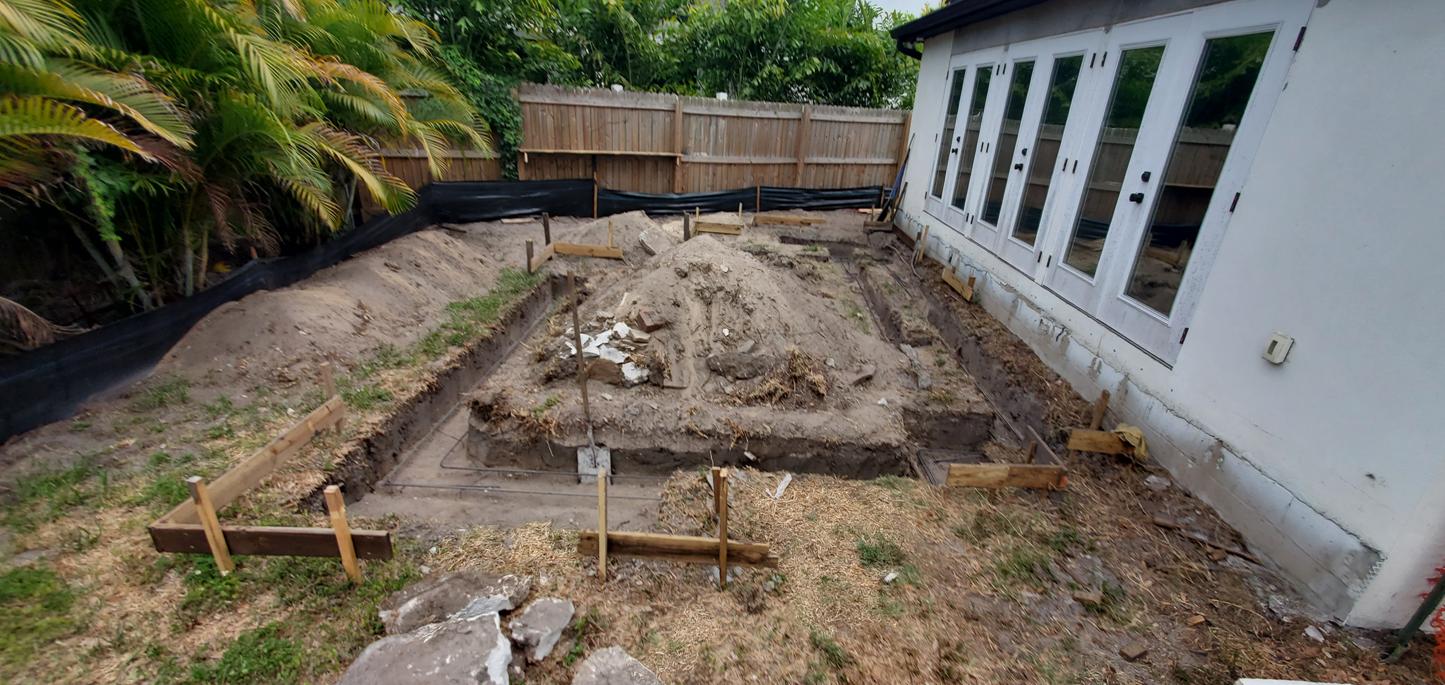
Here’s the start of the deck project after about a week on site . . .
Until next time . . .
Cheers! |
|
This Concrete deck spins off of the concept of Layers . . . A personality a history, a structure . . .
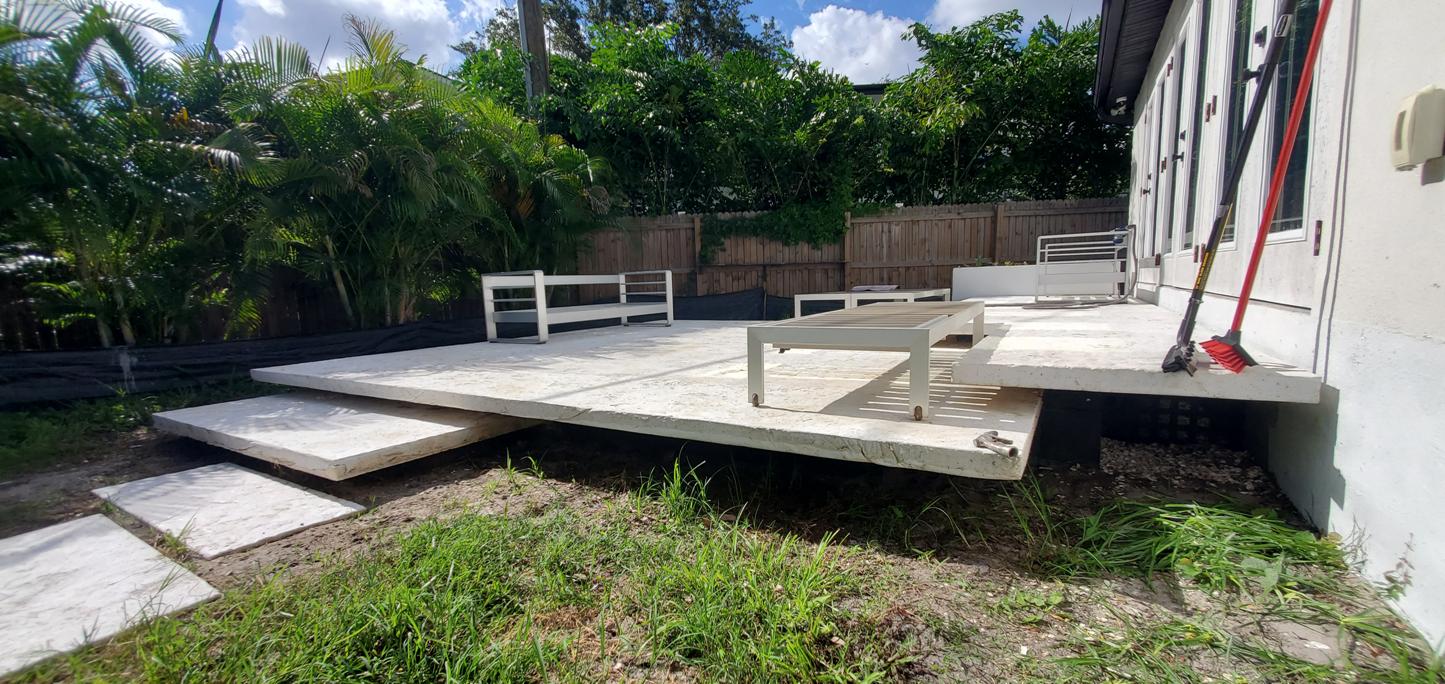
When the current owner bought the place from the “flipper” it had a sort of deck outside the east glass doors . . . But it was, shall we say barely a deck. It was built using PT framing, but the sleepers were set right in the dirt at 32”o.c. which led to the 1” deck boards dipping and warping crazily . . . And many of them just breaking. So for a few years he’s just dealt with some rickety steps left from the deck coming down from the back doors about 24” above the ground below.
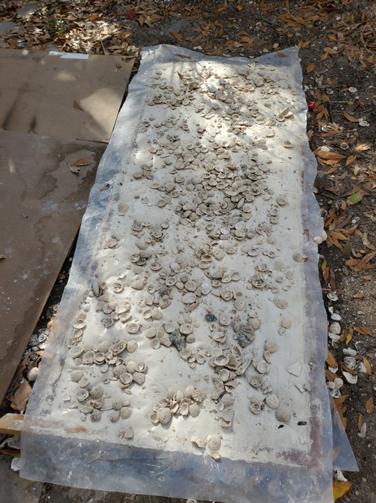
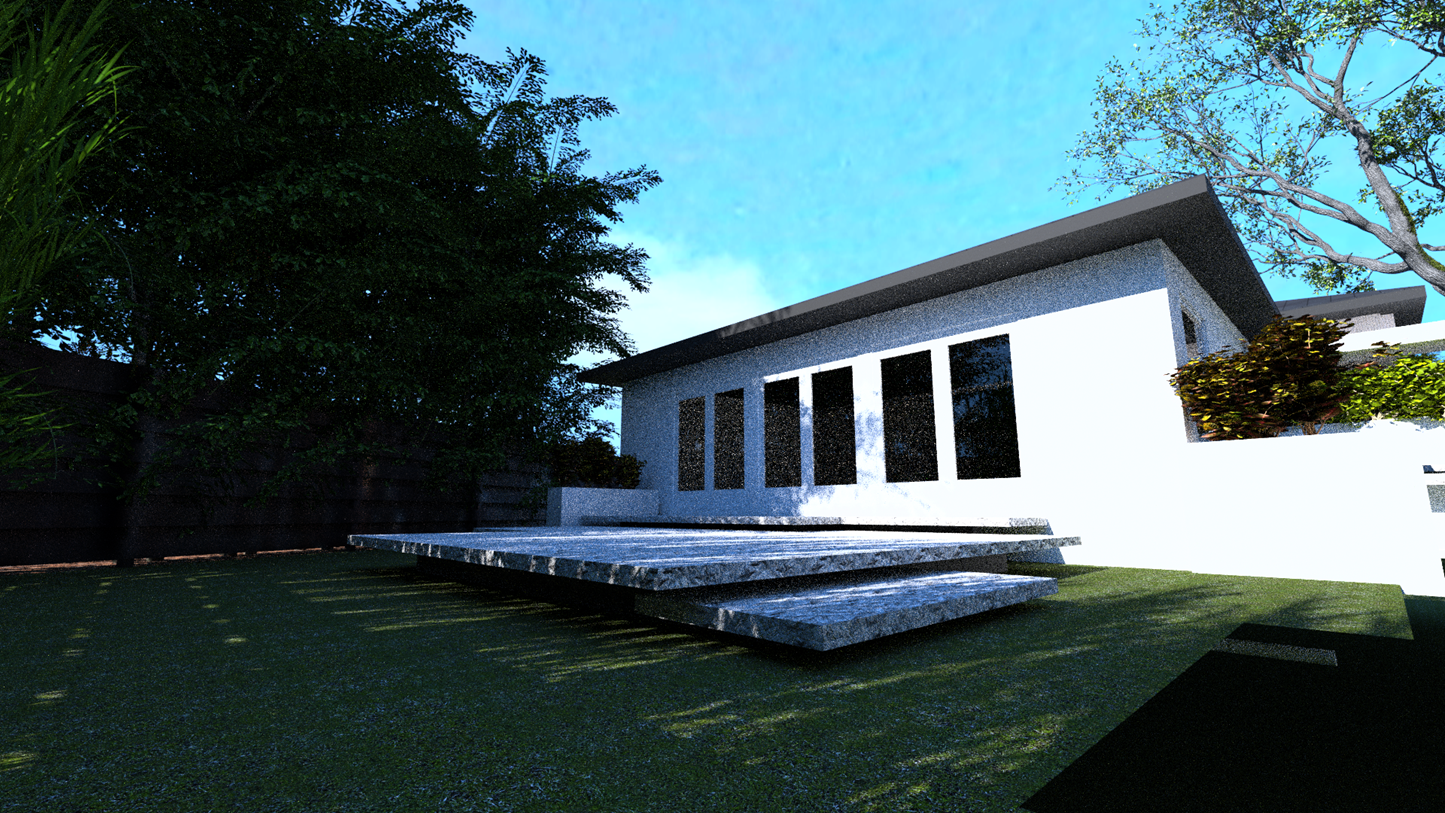
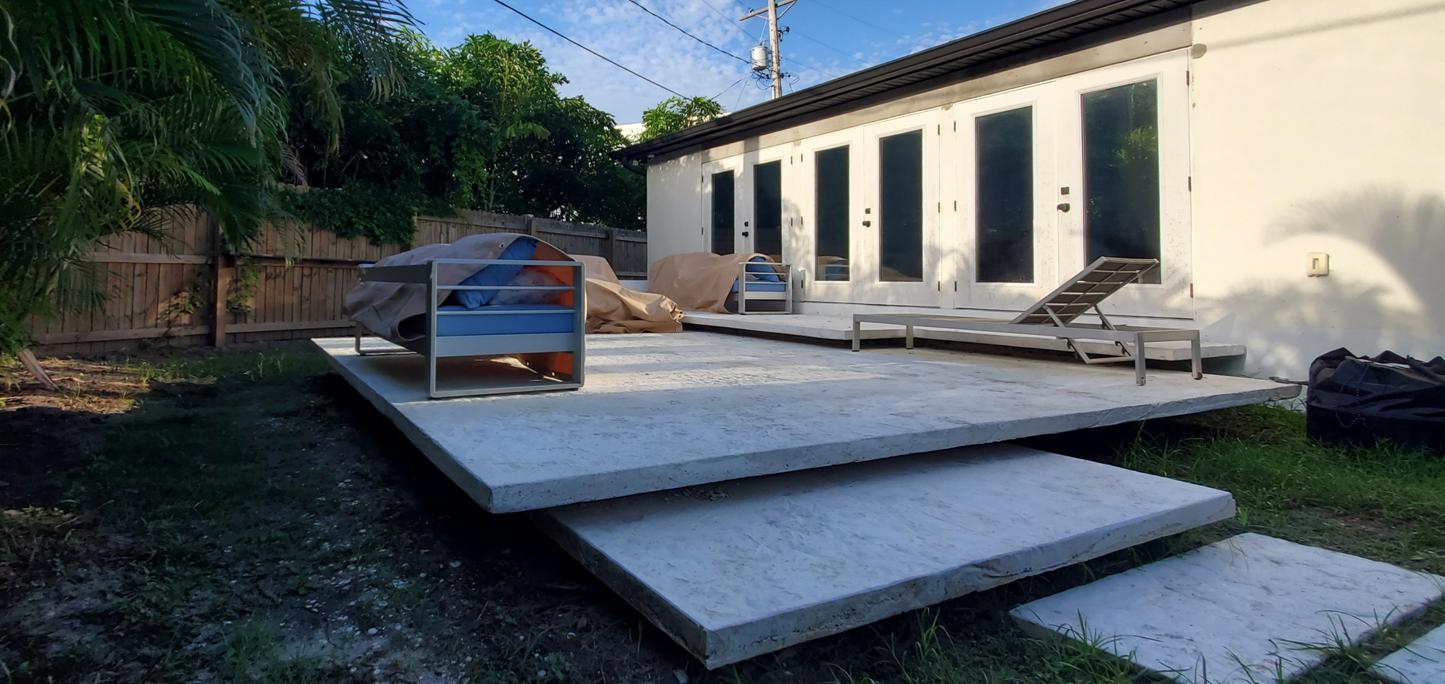
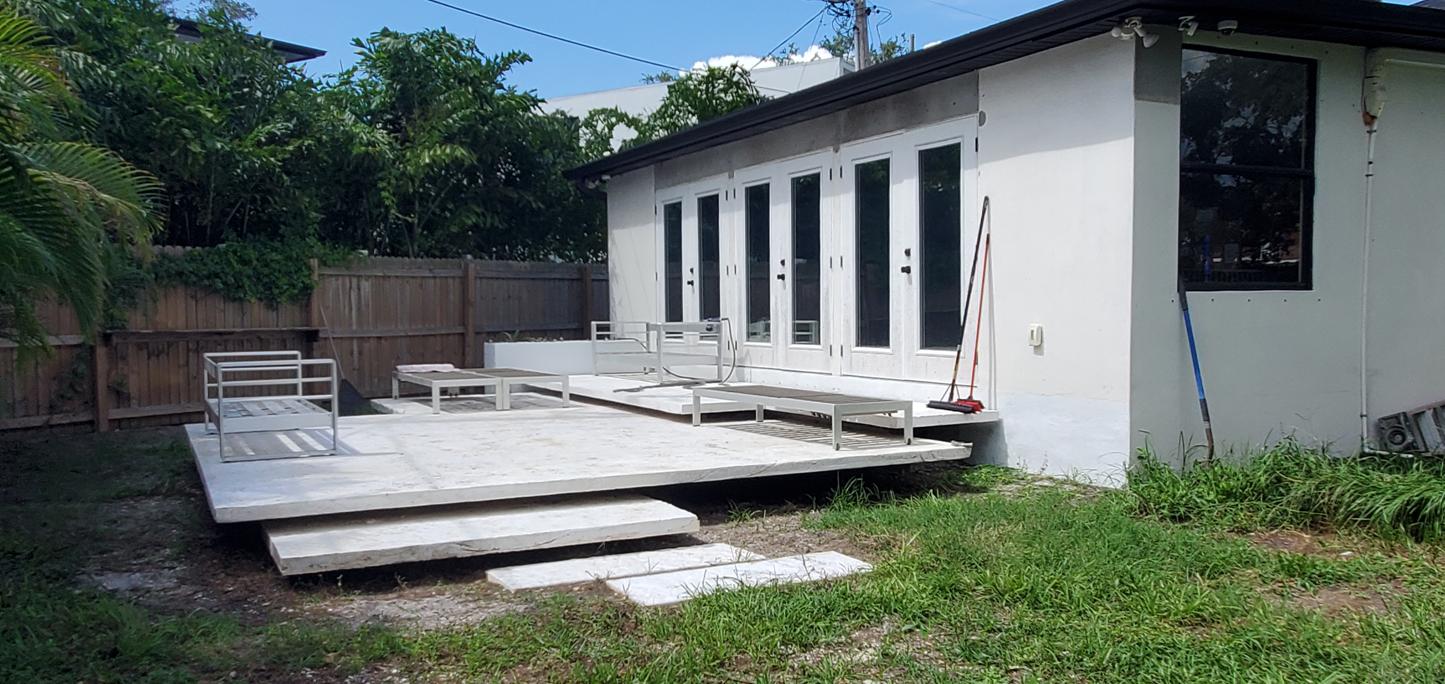
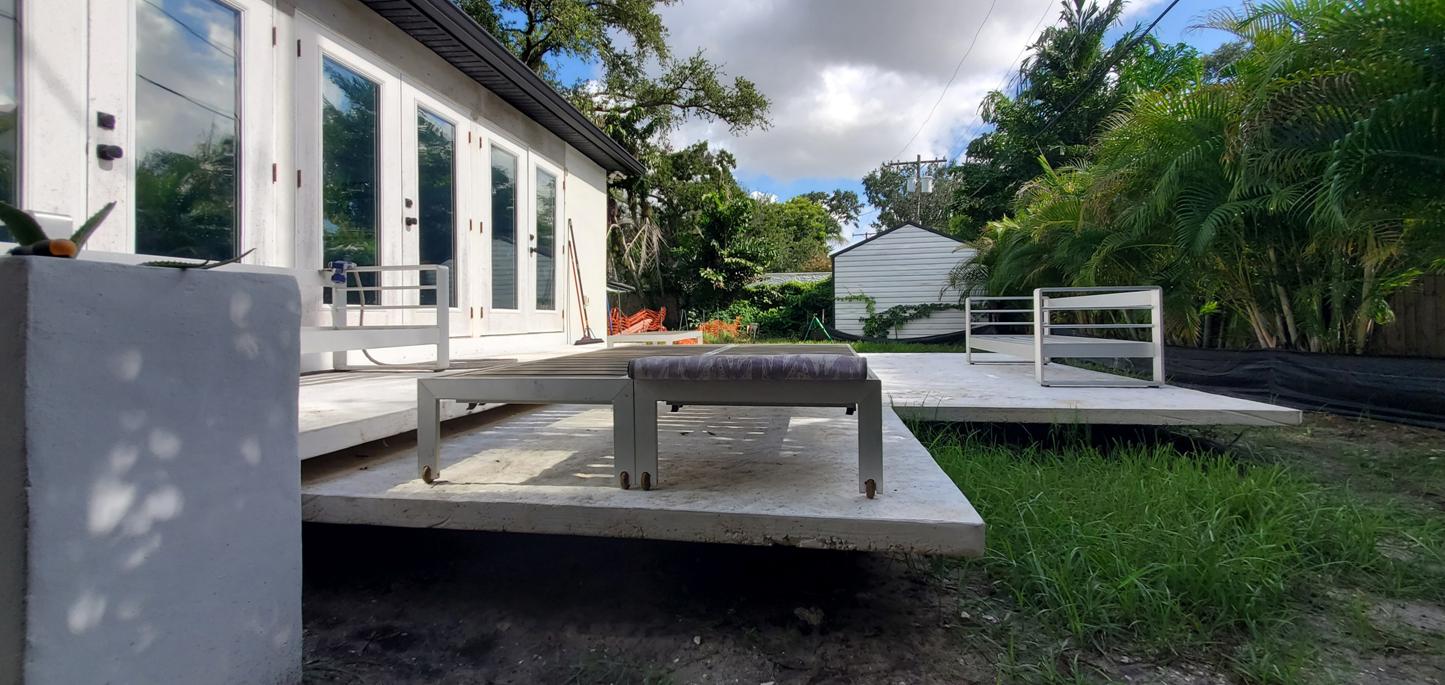
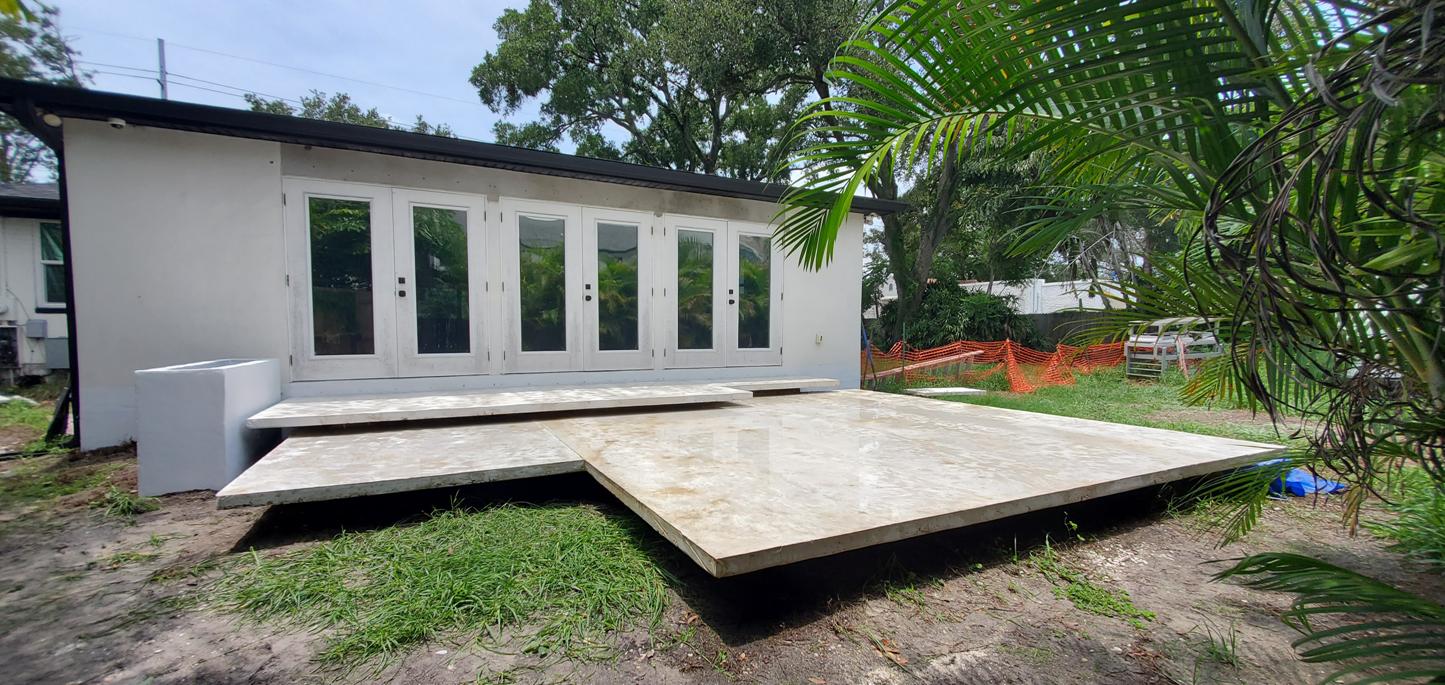
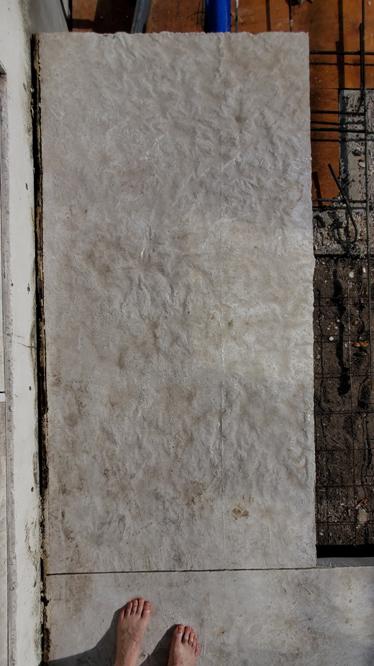
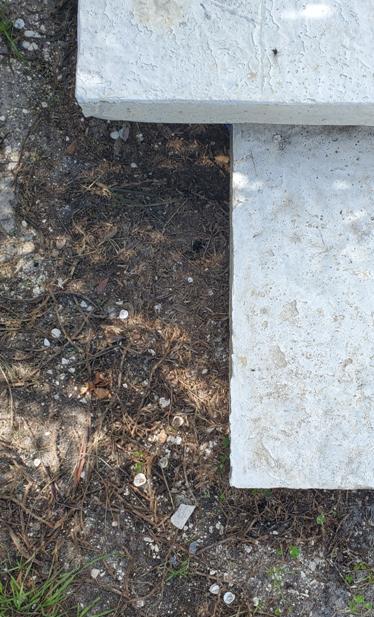
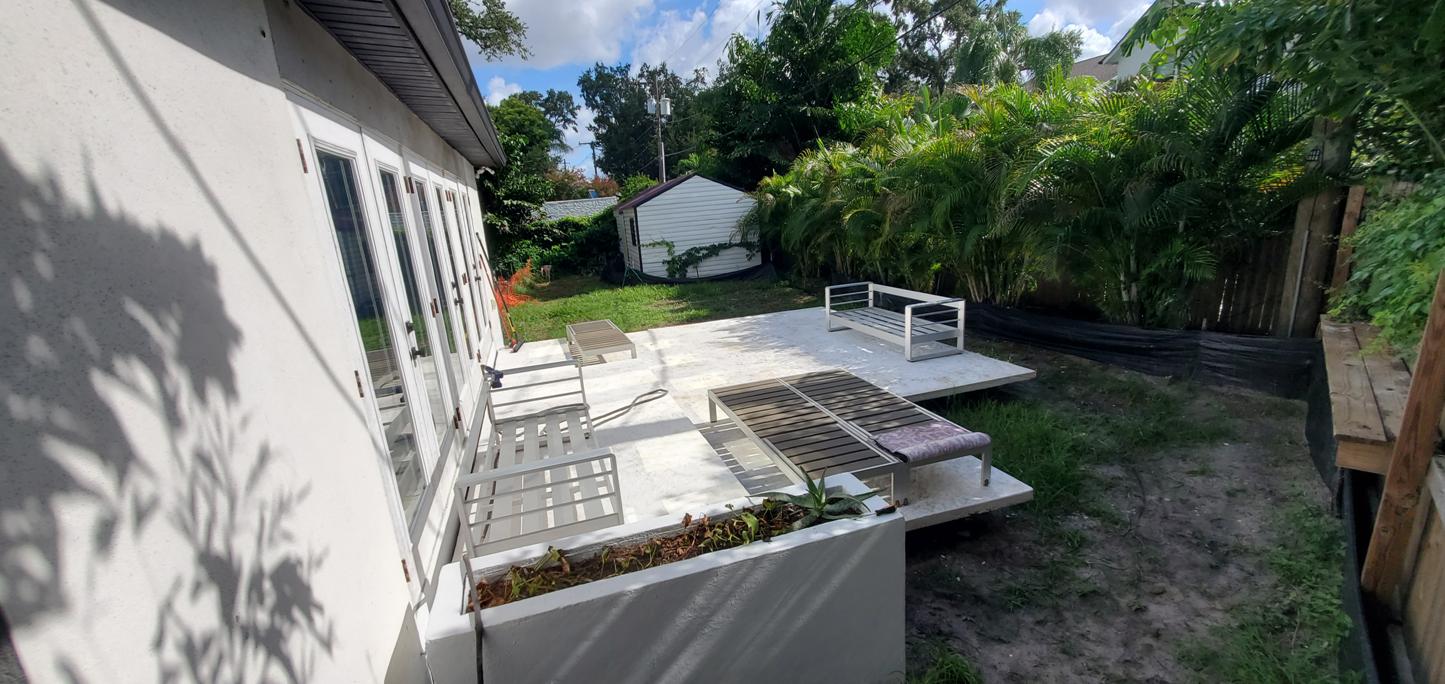
The new deck is thought of as a series of layered planes but horizontally this time, that step down and move the space toward the north where the pool will eventually be. The deck is done with white portland cement and feels as if it’s floating above the grass below. The texture of the surface is made using crushed shell pressed into a sheet of plastic over the wet concrete to produce a rippled texture that is reminiscent of sand at the beach just after a wave has gone out. |
|
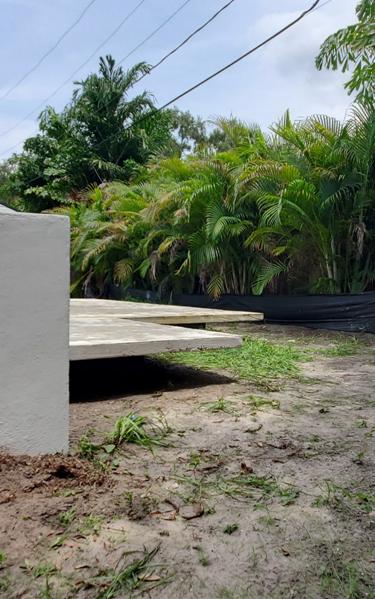
Right: The deck just after the final forms were stripped & the test slab stepping stones were set in the foreground.
Below Right: a render from Rhino showing the floating slabs . . .
Below: one of the test slabs for the white Portland & pressed shell texture finish. |
|
Below: Here’s the landing slab just outside the northern most set of doors just after forms were stripped |
|
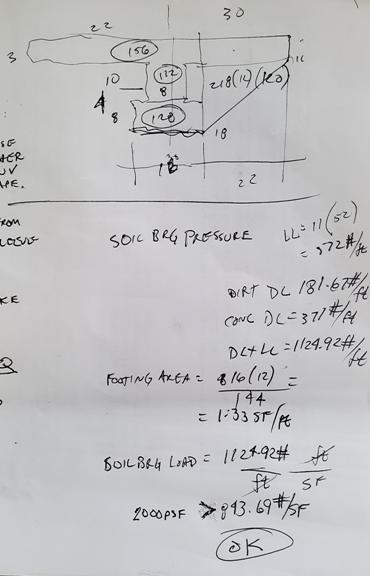
Below: The calculations for soil bearing—these went along with the grasshopper calculation for the slab rebar so I could get the 18” cantilever off of the stemwall to work with only a 3” thick slab. |
|
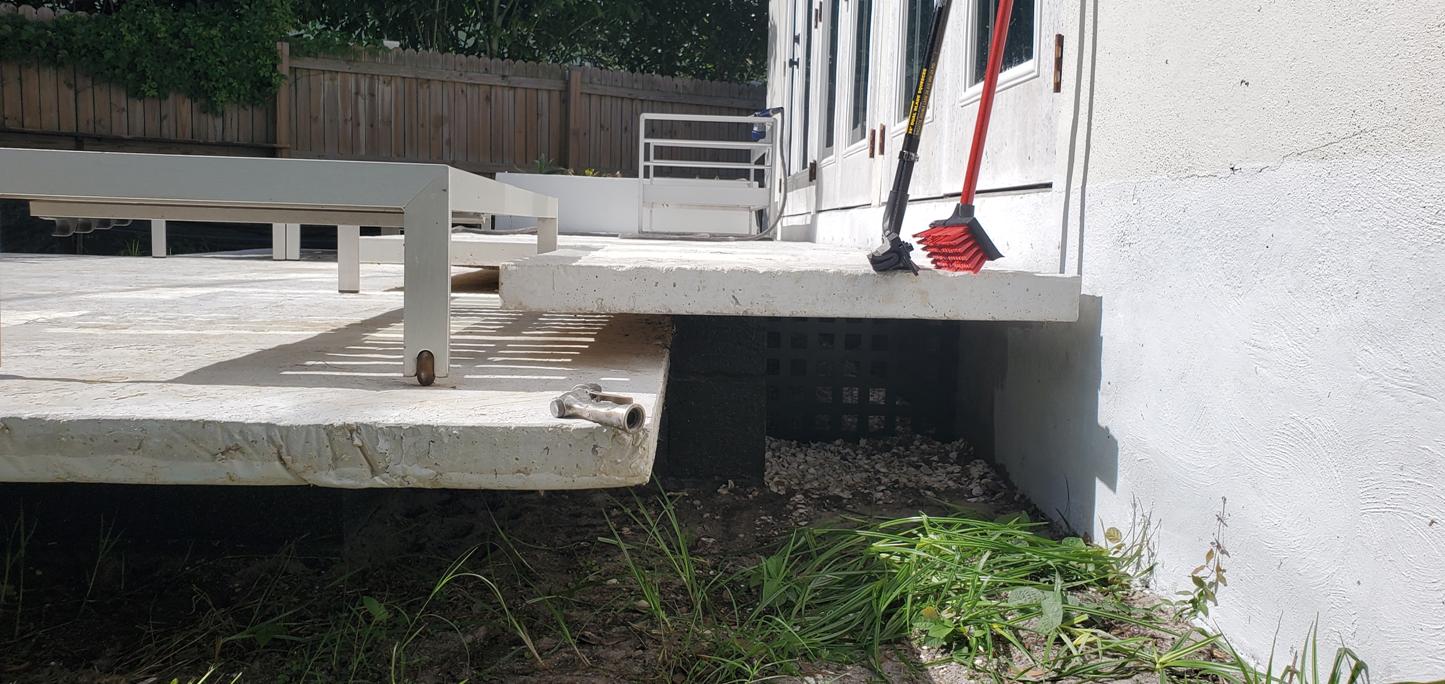
Above: here’s that cantilever off of the stemwall—the stemwall is painted flat black so it really disappears under that edge. |
|
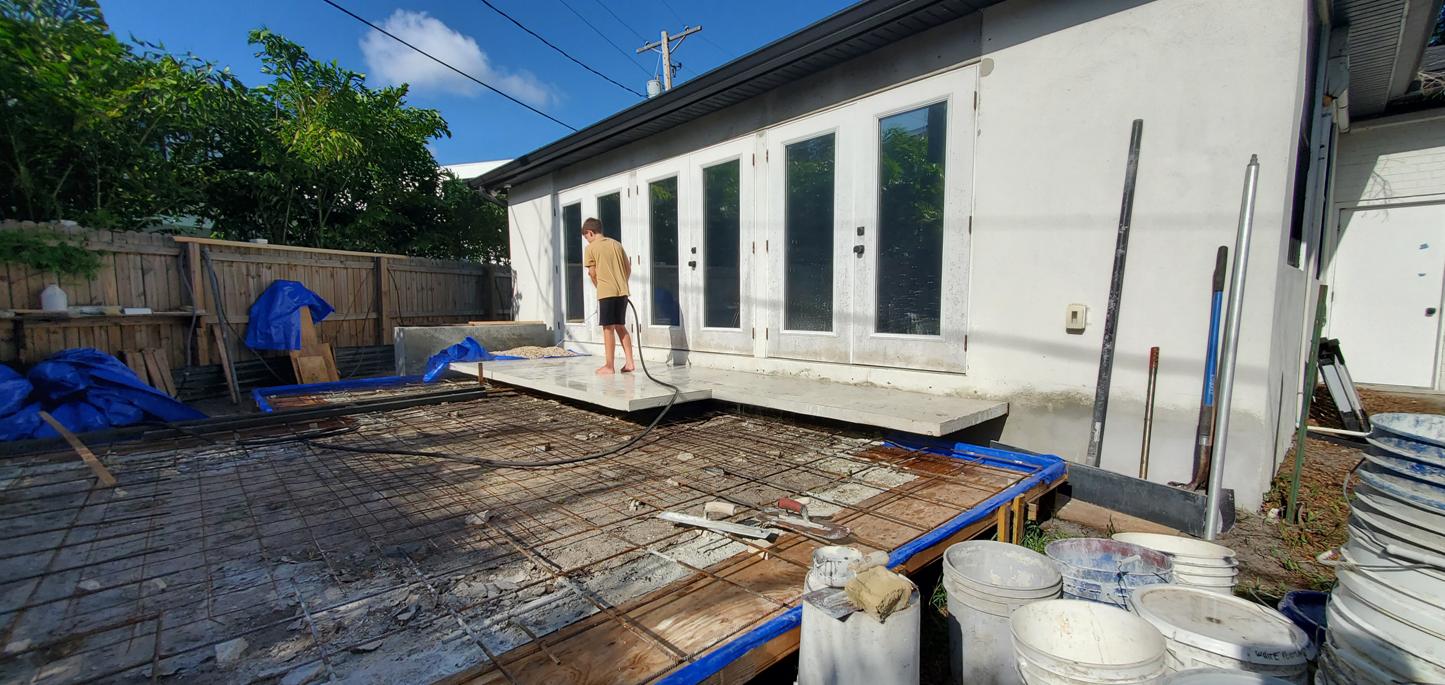
Here’s Joseph hosing down that top slab after we stripped the forms. We kept it wet & covered for the full 28 days of Portland cement curing. |
|
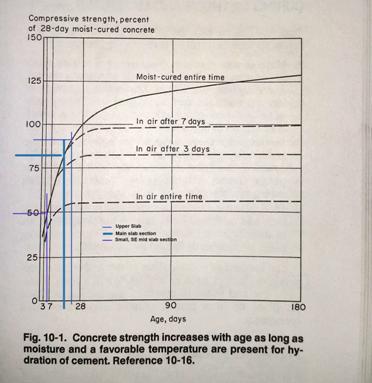
One of the main issues with this project was the setting time for the concrete. With the need to mix the concrete on site because we could not get ready mix with white Portland . . . I called what seemed like every concrete ready mix place around—including the metered trucks because I thougth I’d have a better chance with them because they could more easily switch out the Portland in smaller batch from grey . . . Well, no-one would provide white Portland cement . . Especially in this small quantity—less than 10 yards—we just mixed it in 1 cuft batches. Because of this, we needed to extend the set time of the concrete because we needed to be able to get enough down to put that sheet of plastic over it and press the shell into the top of it with and still be able to pour more concrete into a wet edge. The solution to this is of course, chemicals. A chemical additive in the form of a set retarder. Euclid’s Eucon SE. The only thing about this is that with the addition of this stuff we could not strip forms for more than 7 days. The last two batches I waited 28 days to strip forms because one of them—the main edge in the foreground at right— after 7 full days, the concrete was still plastic and we had to re-attach the forms & tamp, vibrate, & re-finish the concrete at the cantilever.
Below: the curing graph for Portland cement based concrete with various wet-curing lengths. |
|
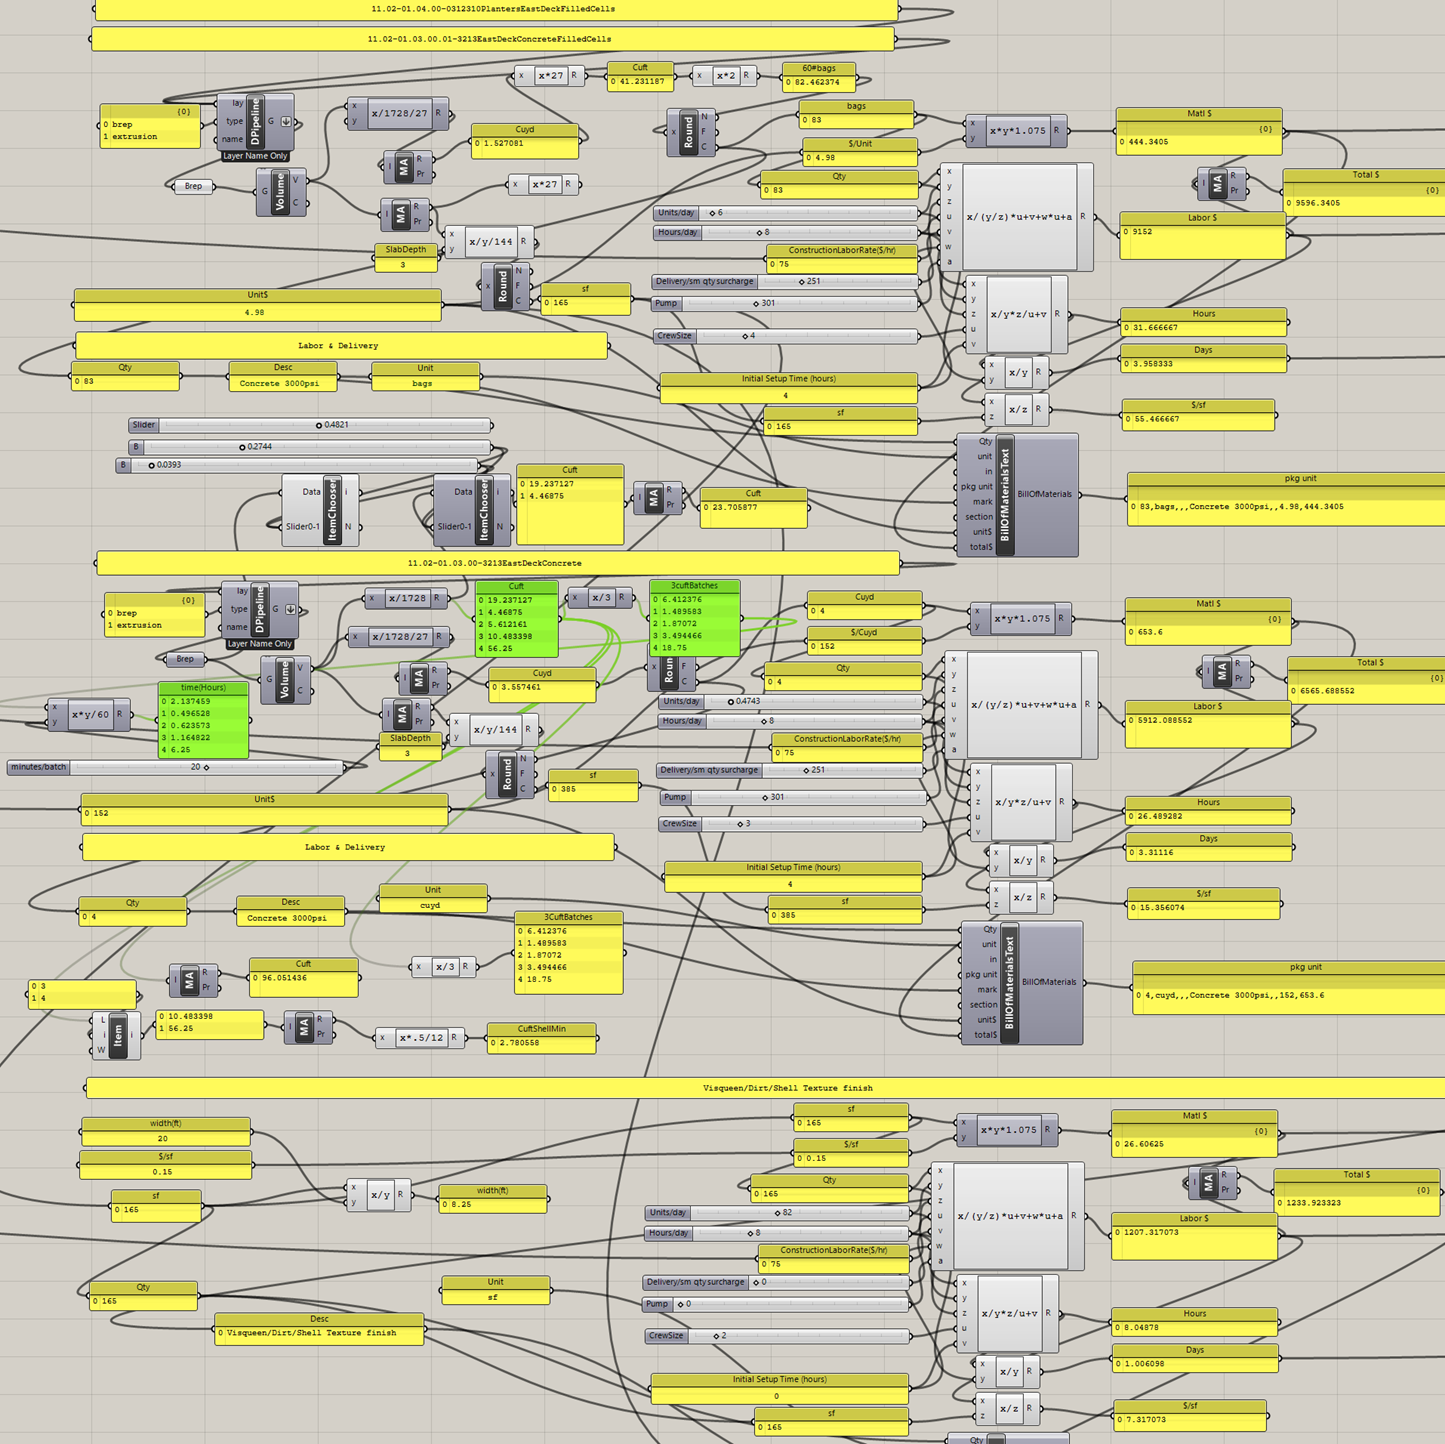
Here’s part of a grasshopper definition I’ve developed over the years to quantify concrete based on a Rhino model that tracks quantities & time in real time with model changes. |