
|
|
||
|
Back to Automation/CNCMachines |
||
|
Build Log 01 2010 |
||
|
We start with a sketch and a truck full of steel . . . (ok, a pretty detailed CAD model and lots of Excel spreadsheets too . . . ) |
||
|
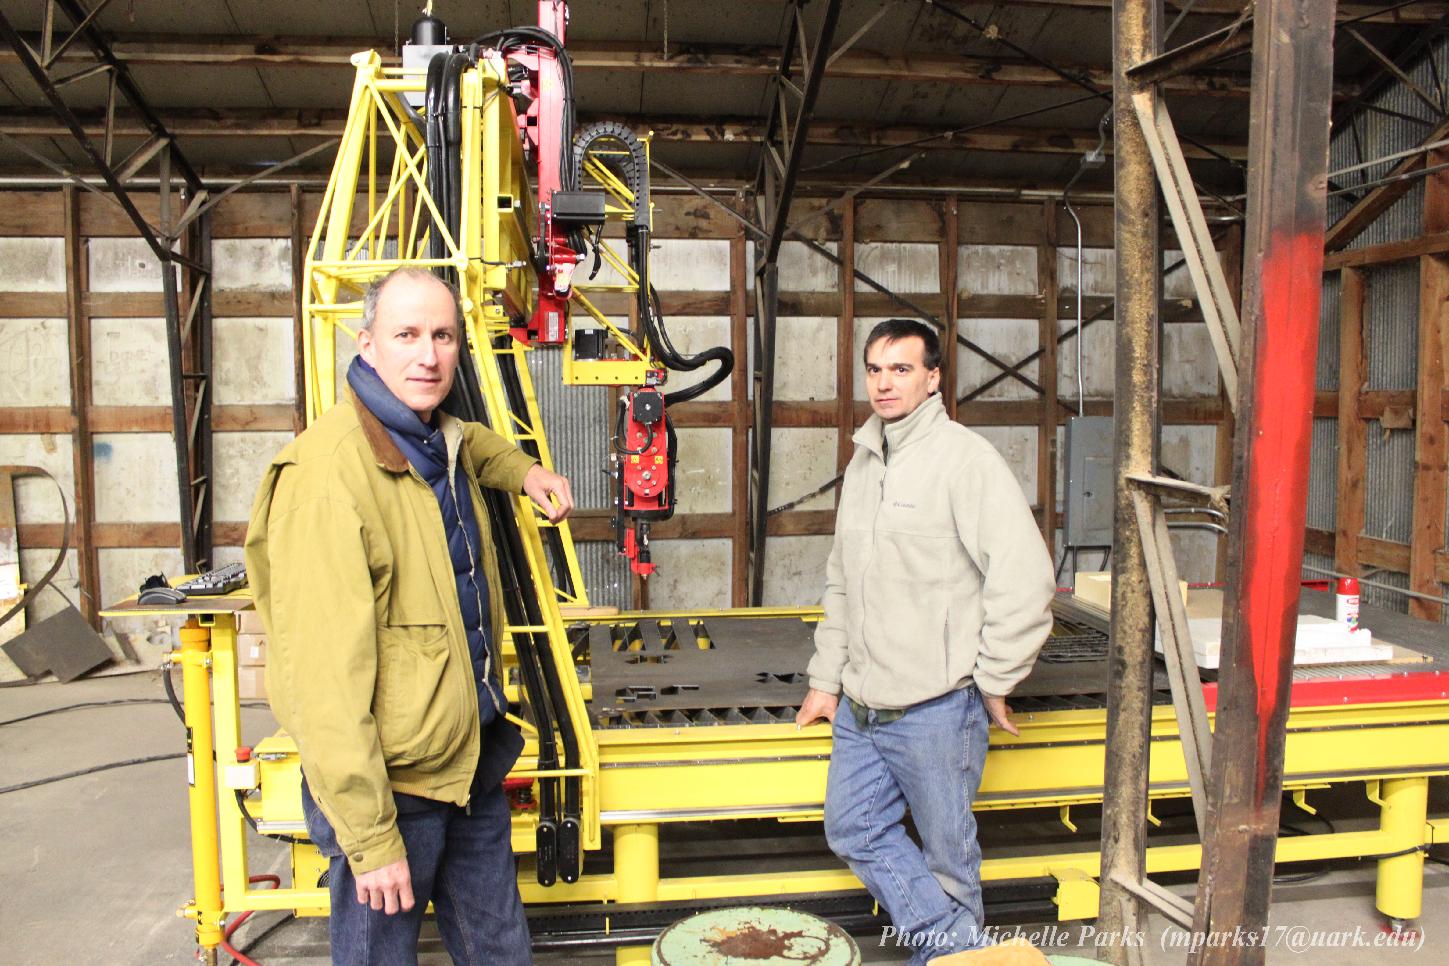
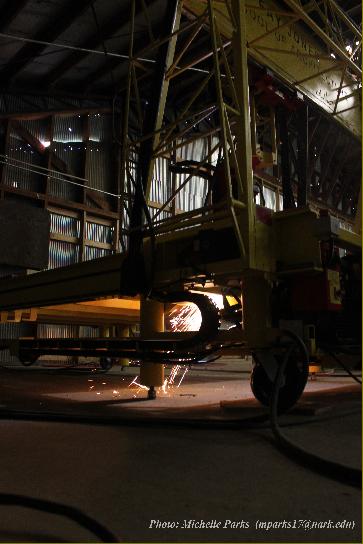
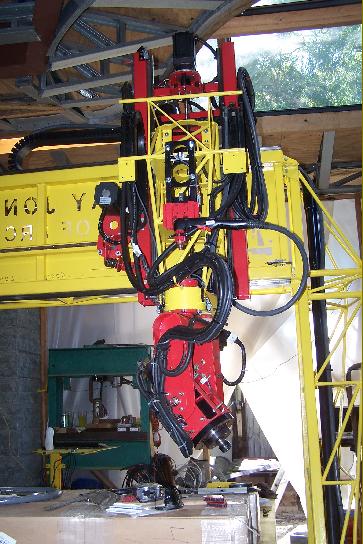
The large Z axis allows for a variety of adaptive uses from utilizing the 5 axis for router carving of wood or foam masses as well as for plasma cutting large steel sections like I-beams and large tubes. |
||

|
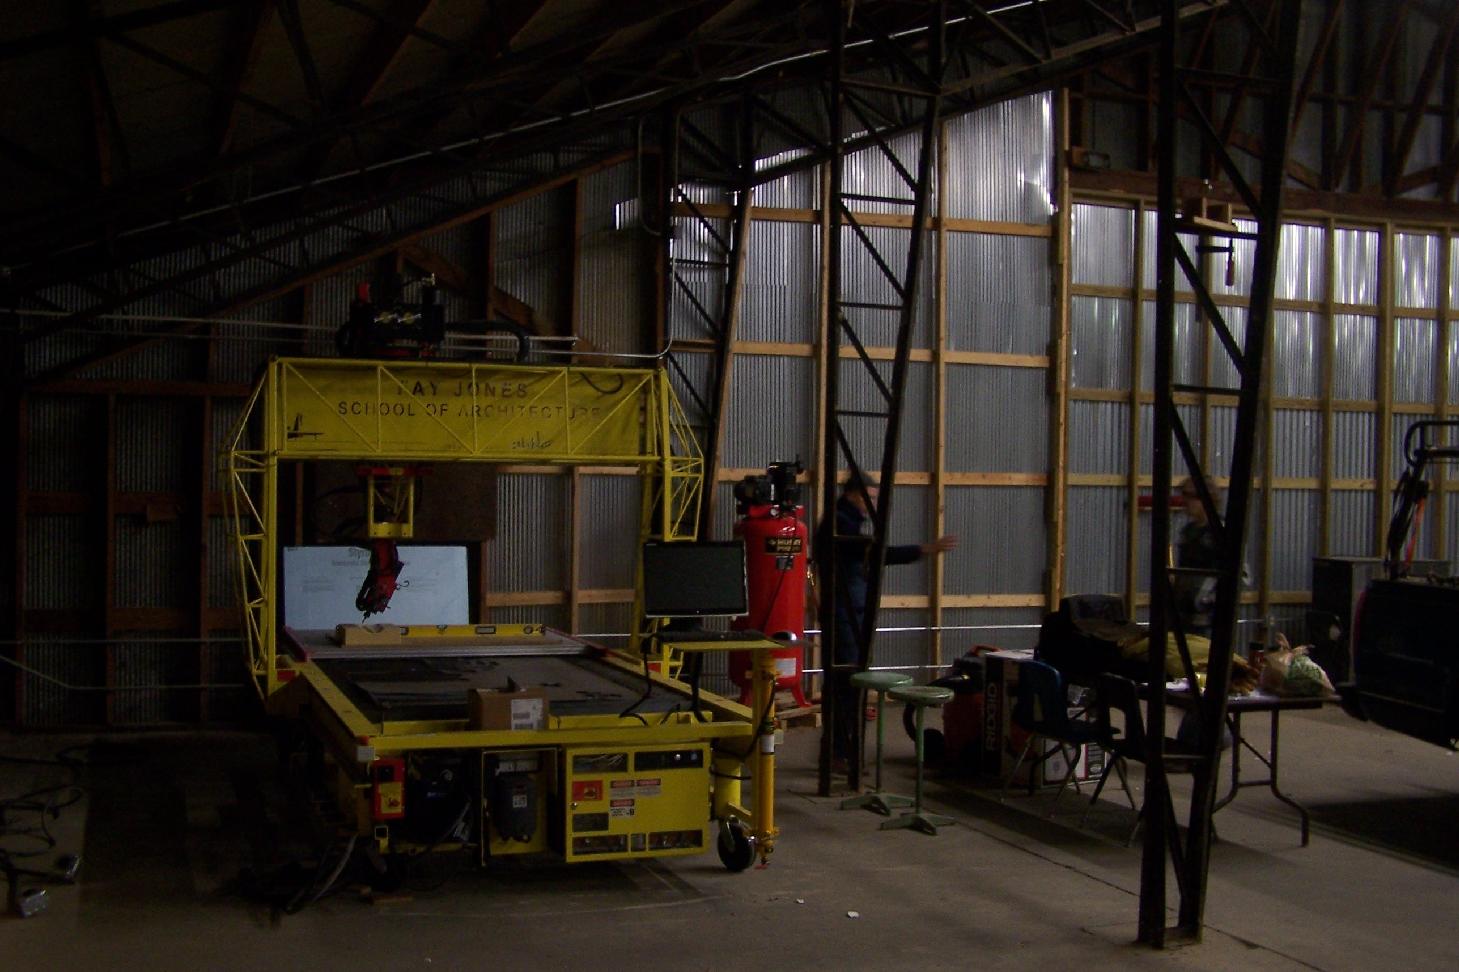
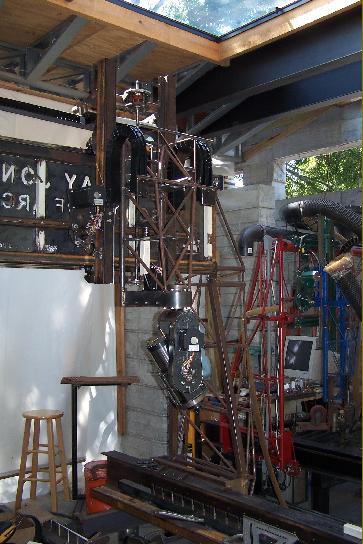
Above: the build location--the west room of the shop--partially enclosed at the time--the south side is enclosed with visqueen to keep the rain out of the space . . . |
||
|
Right: Early sketch of the a/c head circa 2009. |
||
|
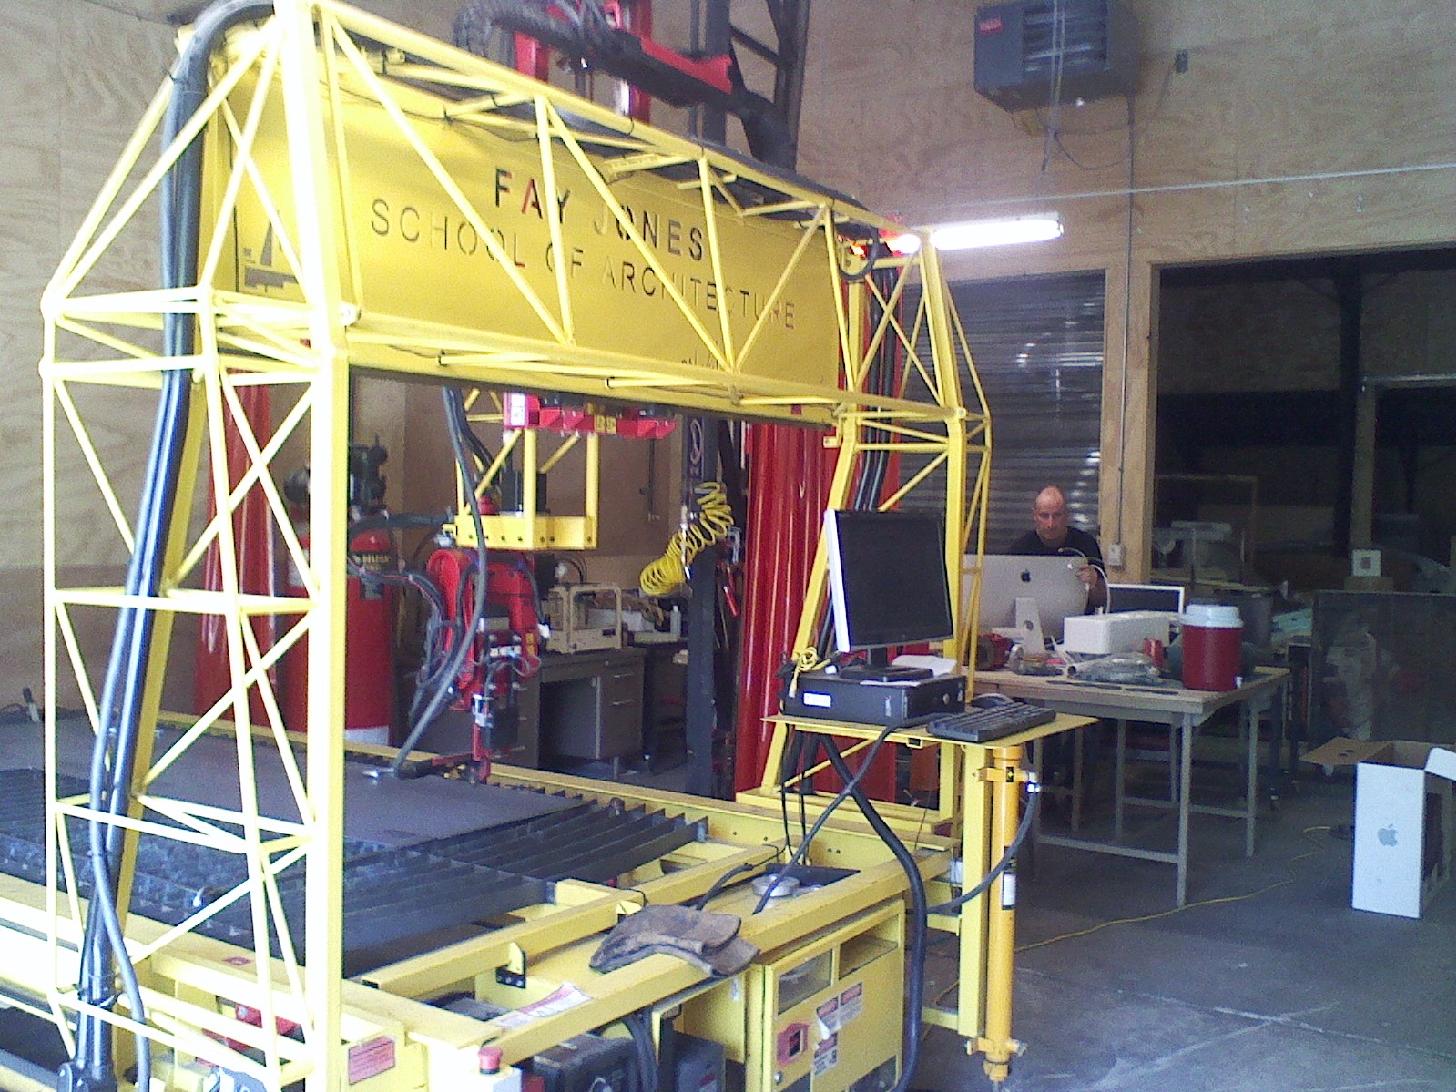
Right: The rails setup in the build location with the 3 axis machine ready to fab parts for the next, 5 axis machine. |
||
|
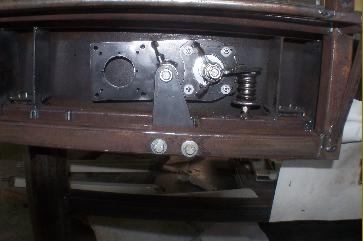
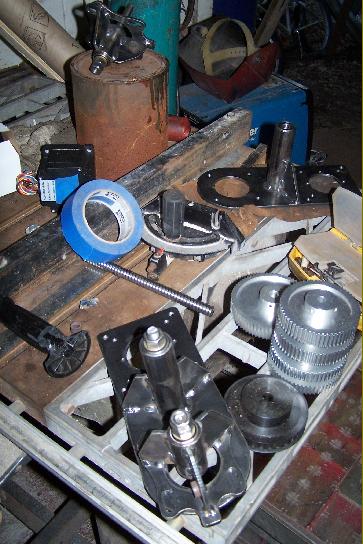
Right: The drill mount setup and drilling the gear rack to match. |
||
|
Right: The drill mount setup and drilling the gear rack to match. |
||
|
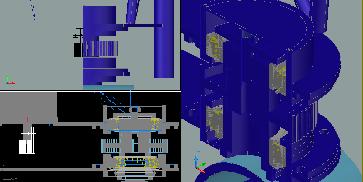
Right: early Cad (AutoCad) Model |
||
|
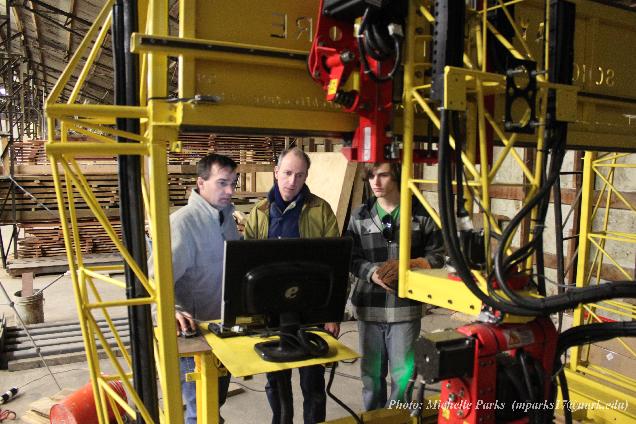
Right: Verifying hole placement on the rack pieces. |
||
|
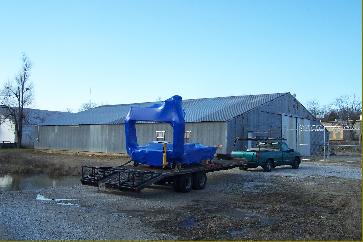
Below Right: The fabricated base prior to getting its legs. |
||
|
|
||